6.1. Avaya SBC
Important
Any changes to network interfaces needs to be followed by .
6.1.1. SBC Configuration
Log into your Avaya SBC
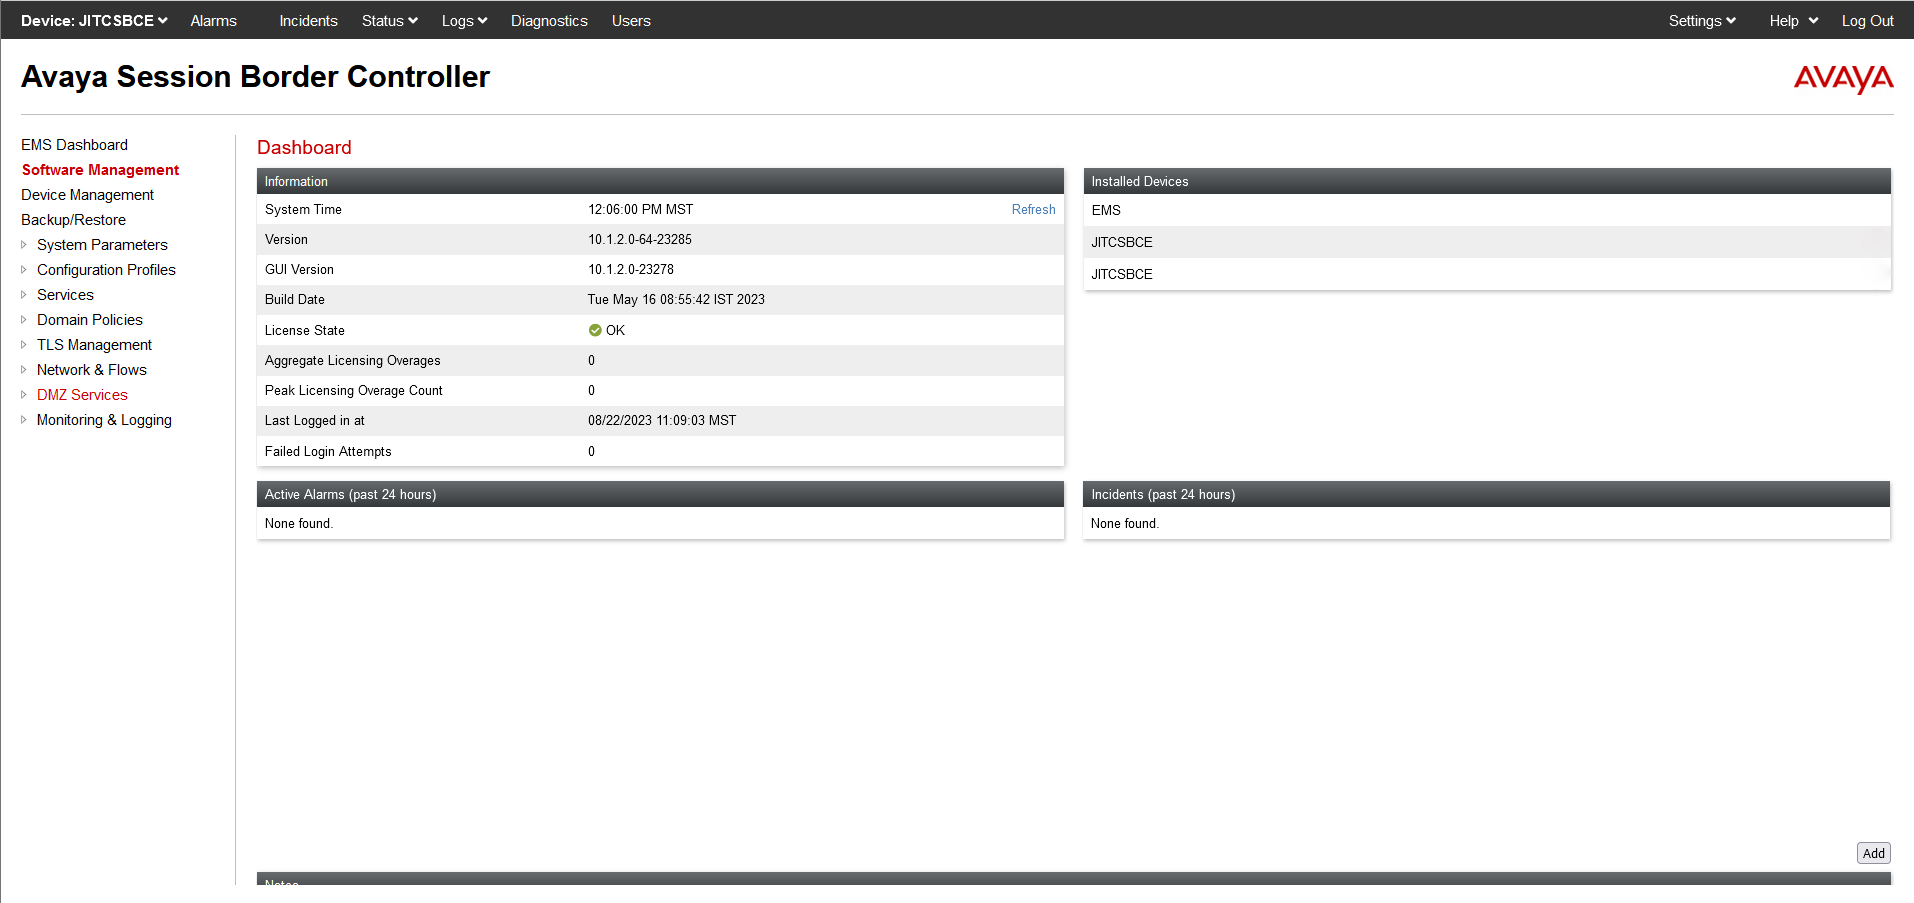
Fig. 6.23 Avaya SBC Login
6.1.1.1. Create a SIP Recording Server
Navigate to . Change the Server Type to Recording Server. For encryption, select your TLS Client Profile (Create the TLS profiles under . Please see your IT administrator if you have questions). Add the NexLog DX-Series IP address, RTP port, and transport type.
Add SIP OPTION heart beats to your SIP Recording Server.
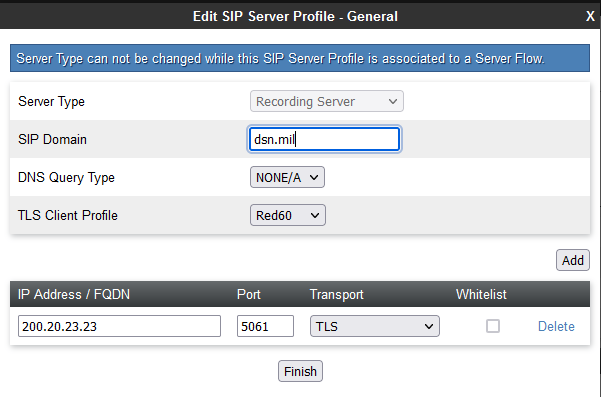
Fig. 6.24 Add SIP Server
Navigate to the Advanced Tab and Enable Grooming and Tolerant.
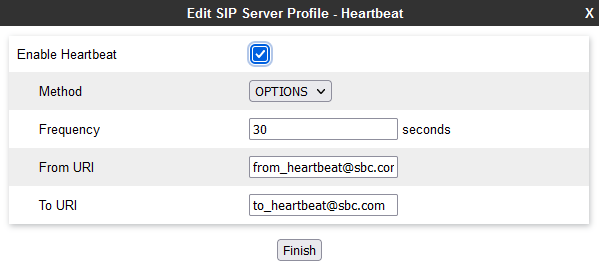
Fig. 6.25 Add SIP Option
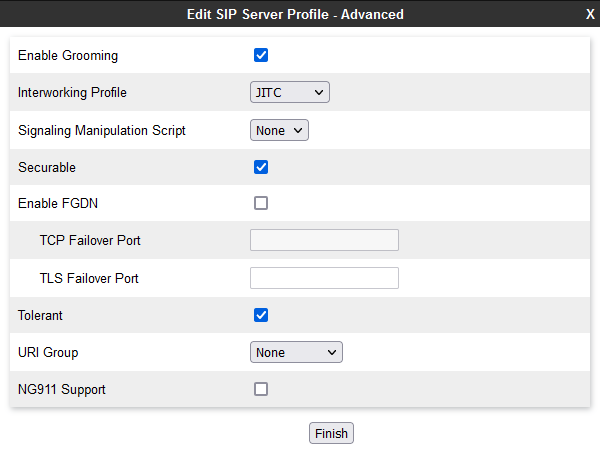
Fig. 6.26 Add SIP Server
6.1.1.2. Routing
Navigate to and create a route and select the SIP Recording Server from the last section.

Fig. 6.27 Create Route
6.1.1.3. Recording Profile
Select the Routing Profile created in the last section and select the Recording Type as Full Time.
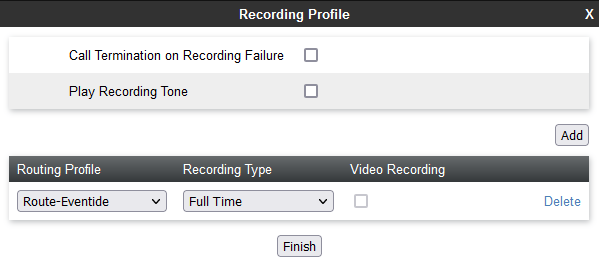
Fig. 6.28 Full Time
6.1.1.4. Server Interworking
Navigate to and modify your profile to support DTMF RFC 2833 Relay & SIP Notify.
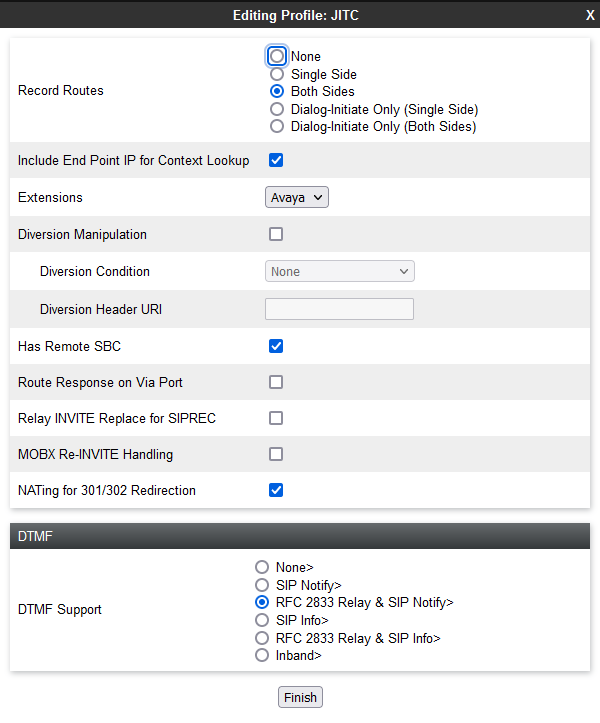
Fig. 6.29 Server Interworking
6.1.1.5. Application Rules
Navigate to and enable Audio in and out.
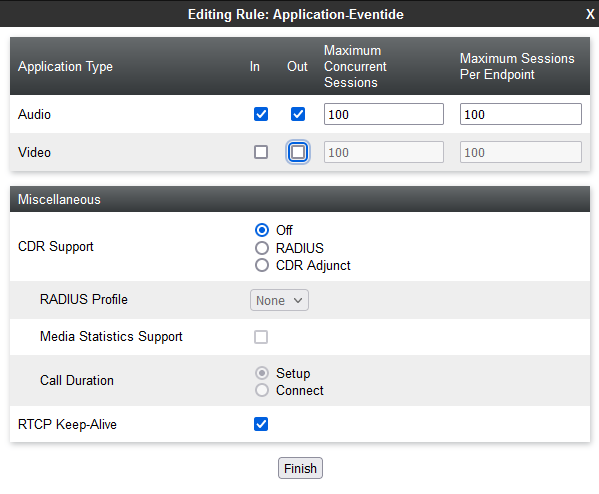
Fig. 6.30 Audio
6.1.1.6. Media Rules
Navigate to and set up your Audio Encryption preferred formats. Enable interworking.
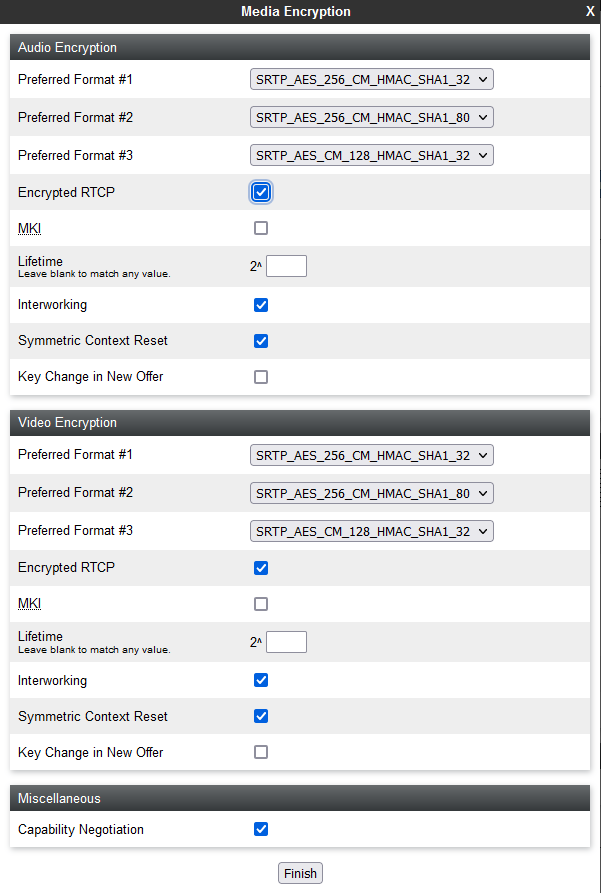
Fig. 6.31 Audio Encryption
6.1.1.7. Signaling Rules
Navigate to . Set a unique UCID for the Session Manager and Signaling interface.
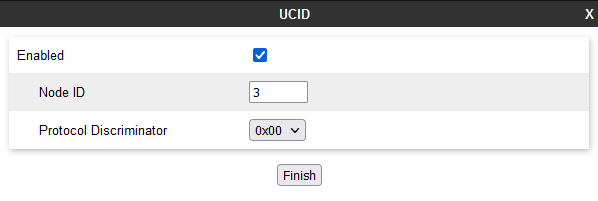
Fig. 6.32 Add Signaling Rules
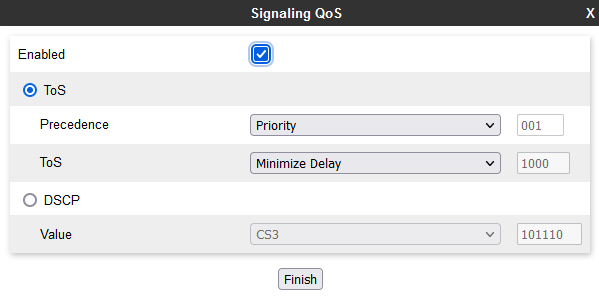
Fig. 6.33 Signaling Rules
6.1.1.8. End Point Policy Groups
Navigate to . Set the Application Rule, Media Rule, and Signaling Rule created in the previous steps.
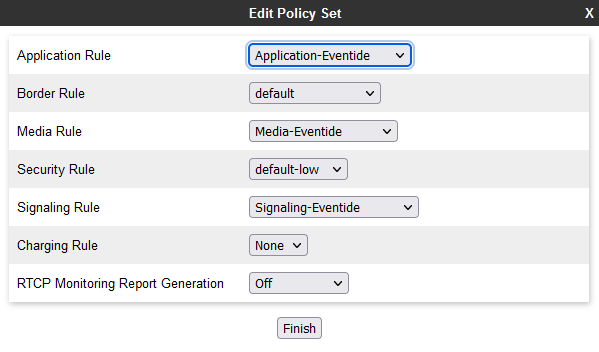
Fig. 6.34 End Point Policy Groups
6.1.1.9. End Point Flows
Navigate to and Add. Create an internal and external end point depending on your infrastructure. SBC_RED_Eventide represents the internal (red side) Avaya Aura network and SBC_black_SIG represents the external (black side) network connected to the SIP Trunk. Configure the SIP Server Profile, Received Interface, Signaling Interface, Media Interface, End Point Policy Group, and Routing Profile created in the previous sections.
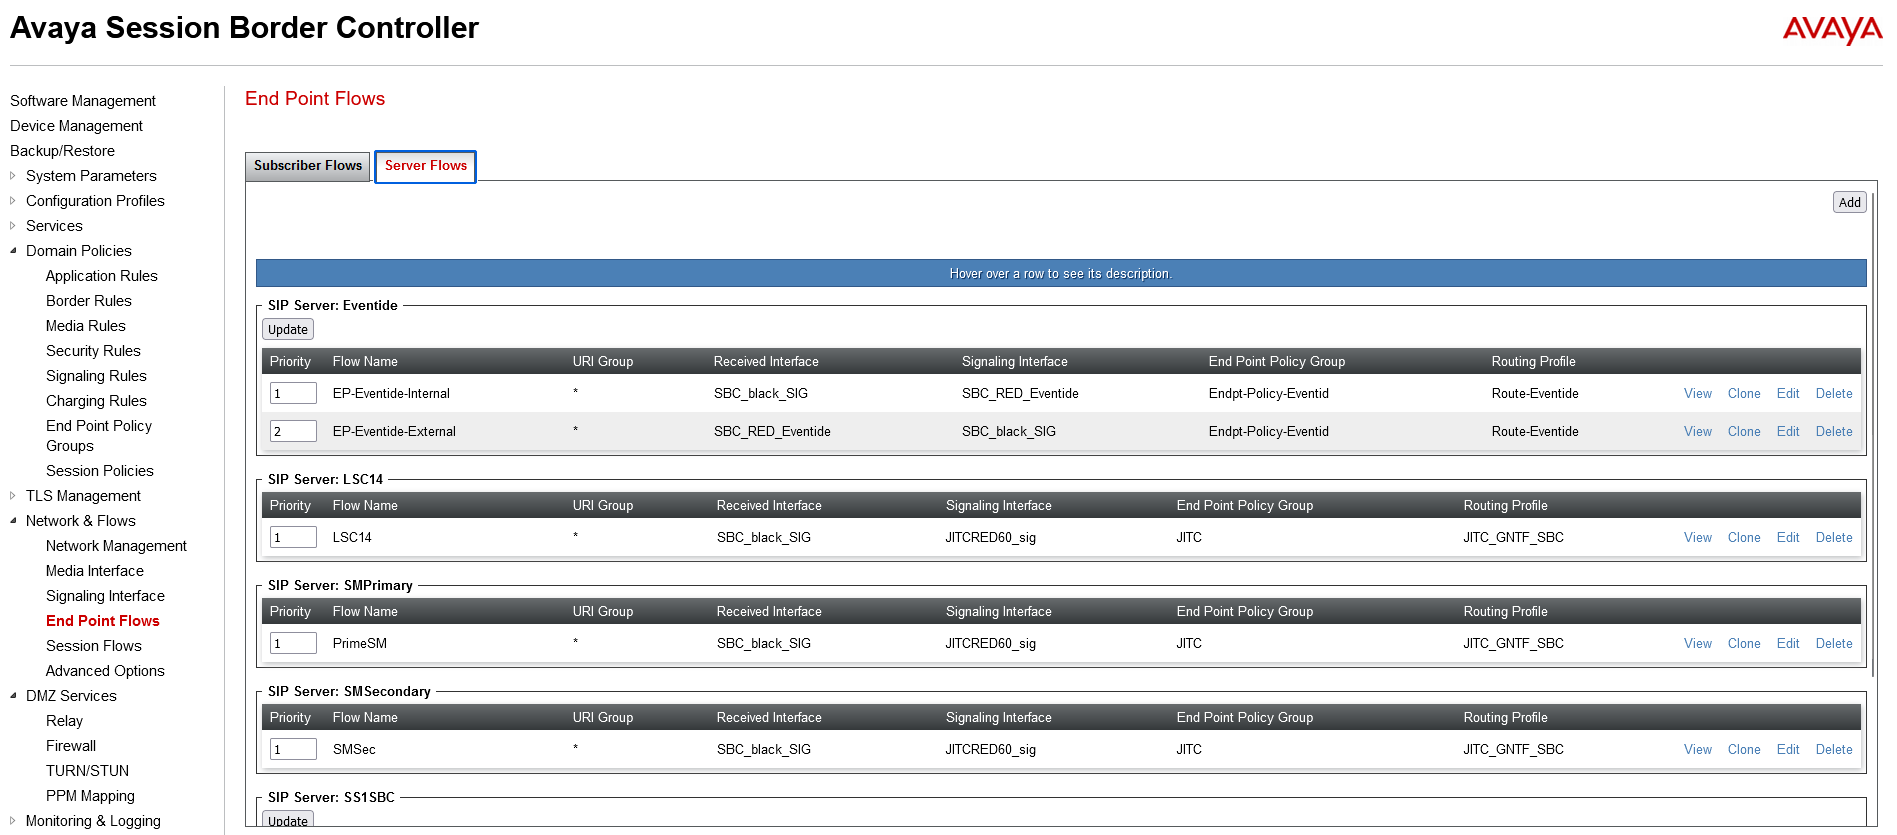
Fig. 6.35 End Point Policy Flows
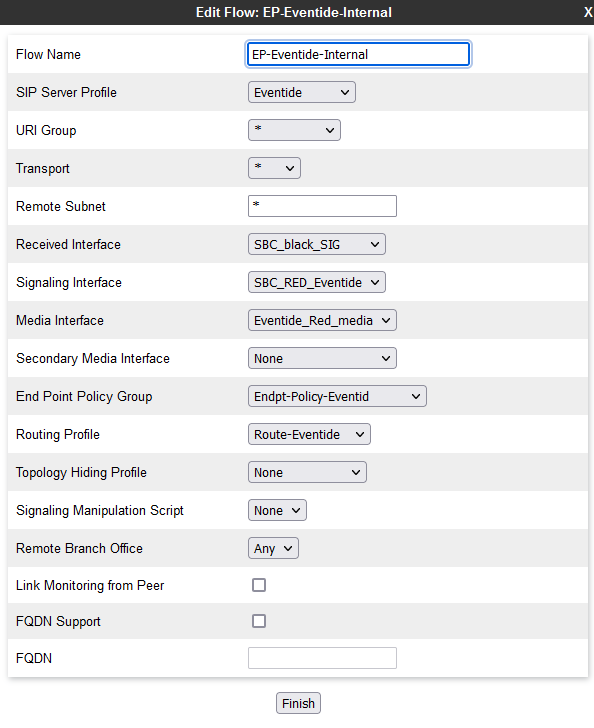
Fig. 6.36 End Point Policy Flows
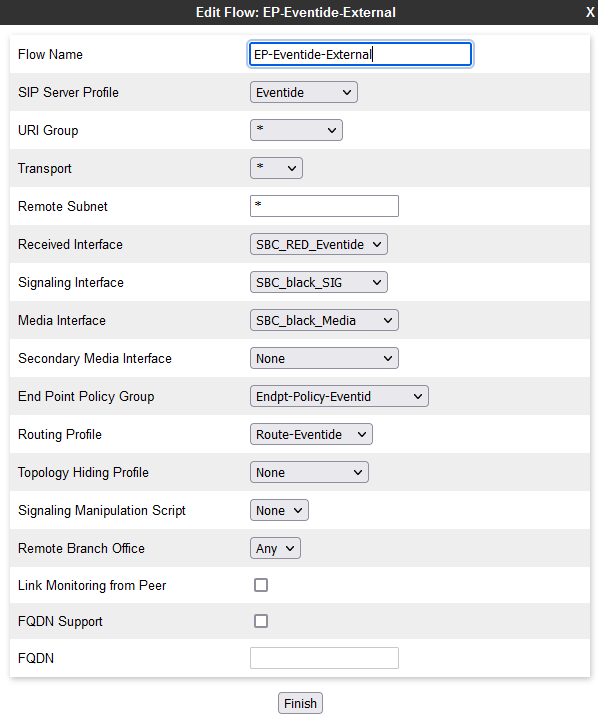
Fig. 6.37 End Point Policy Flows
6.1.1.10. Session Flow
Navigate to . Create a Session Flow for the SBC to the NexLog DX-Series.
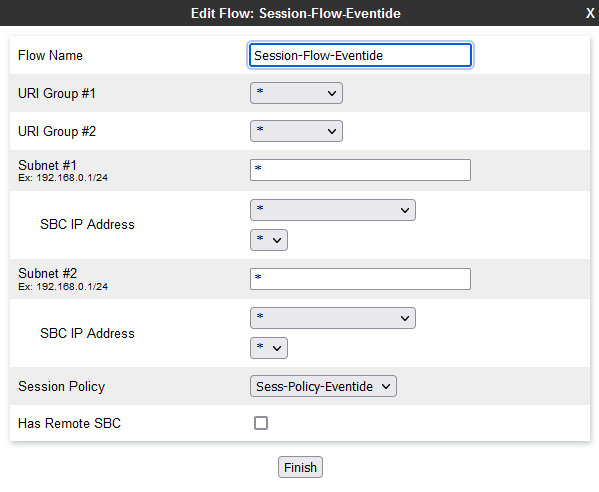
Fig. 6.38 Add Session Flows
6.1.1.11. Avaya SBC Troubleshooting
Log into the SBC and switch to the root user via su root.
Run the command tracesbc and start capturing.
Make a call and analyze the output.
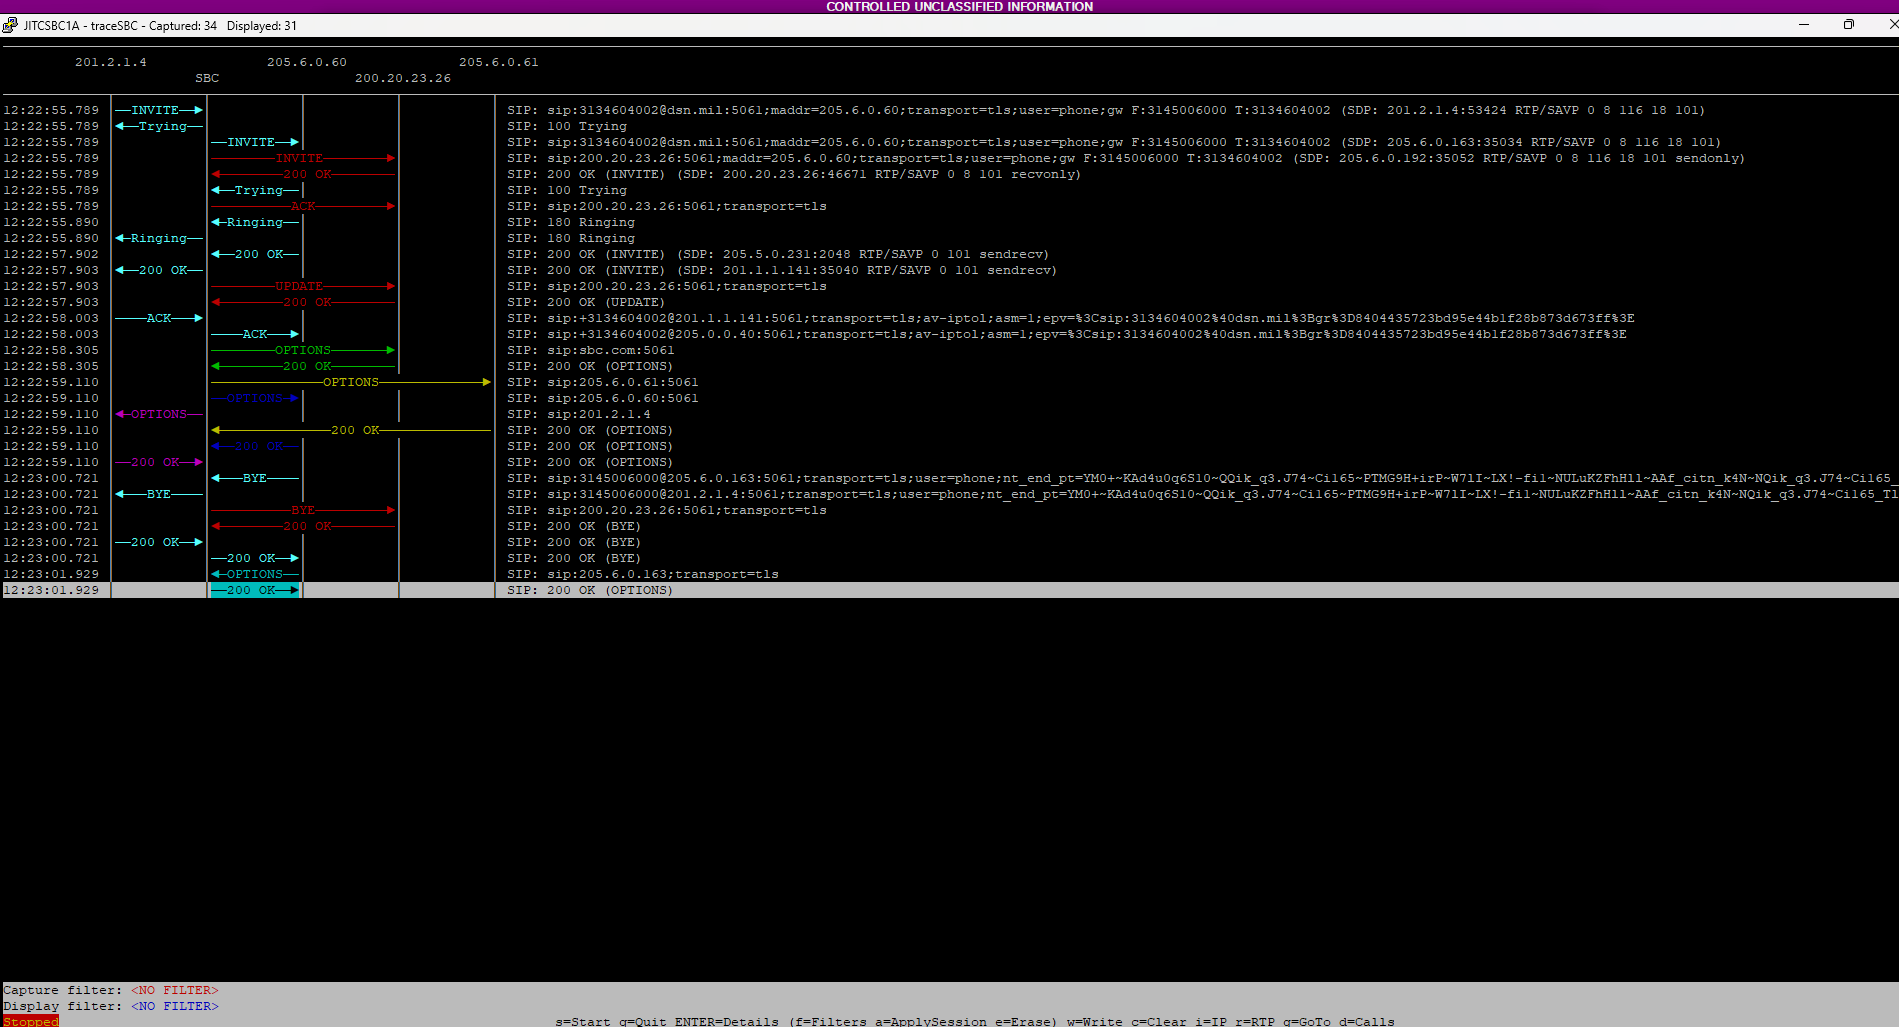
Fig. 6.39 Troubleshooting
In the figure above the 201.2.1.4 IP address represents the external (black side) network.
The SIP INVITE reaches the Avaya SBC and forwards the INVITE to the internal (red side) network 205.6.0.60.
The SIP INVITE is then routed to the NexLog DX-Series 200.20.23.26 on the red side.
tracesbc will automatically create a pcap to view on WireShark and a packet capture can be configured on the NexLog DX-Series.
6.1.1.11.1. Possible Scenarios
6.1.1.11.1.1. Scenario One
SIP OPTION heart beats are not reaching the NexLog DX-Series
If you do not see the SIP OPTIONS going from the external network, to the SBC, to the internal network, and the recorder, then you have a network issue. Please check your firewall rules.
6.1.1.11.1.2. Scenario Two
SIP OPTION heart beats are reaching the NexLog DX-Series, but no SIP INVITES/RTP is reaching the NexLog DX-Series.
The receiving, signaling, media interface, and/or the end point flow are most likely misconfigured or there is a firewall issue.
6.1.2. Recorder Configuration
Log in to the Configuration Manager and navigate to and select Add Virtual Recording Interface. Configure the Avaya SBC SipRec Recording template and select the proper Ethernet Device, SIPPort, Endpoint IP, and Recorder Sip Stack.
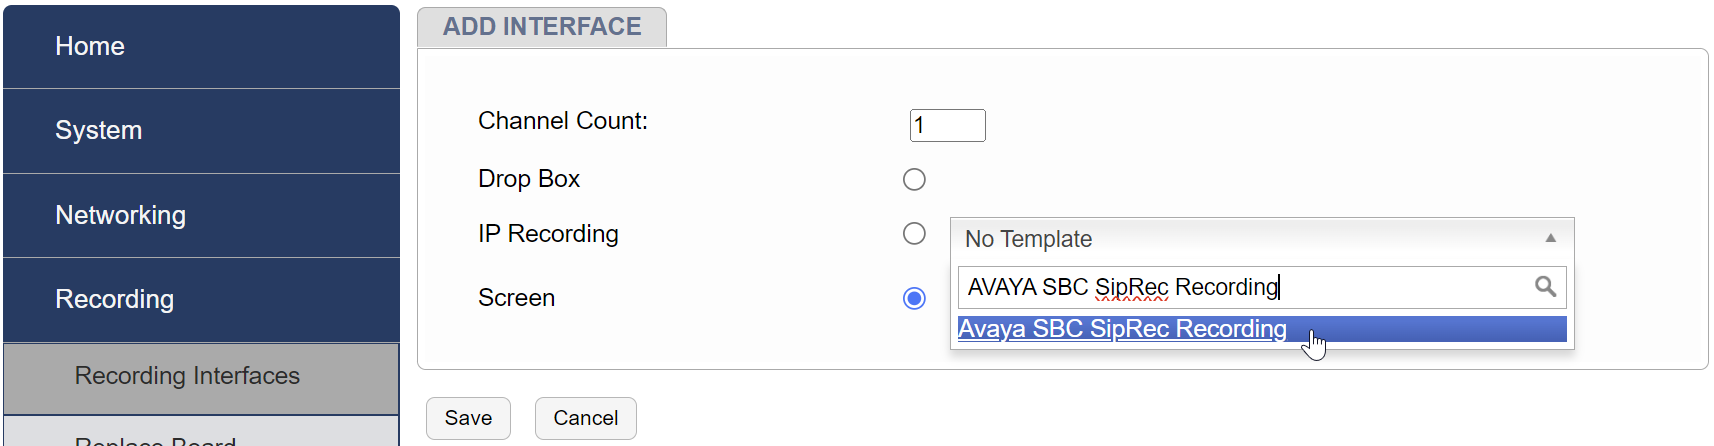
Fig. 6.40 Add Avaya SBC Interface
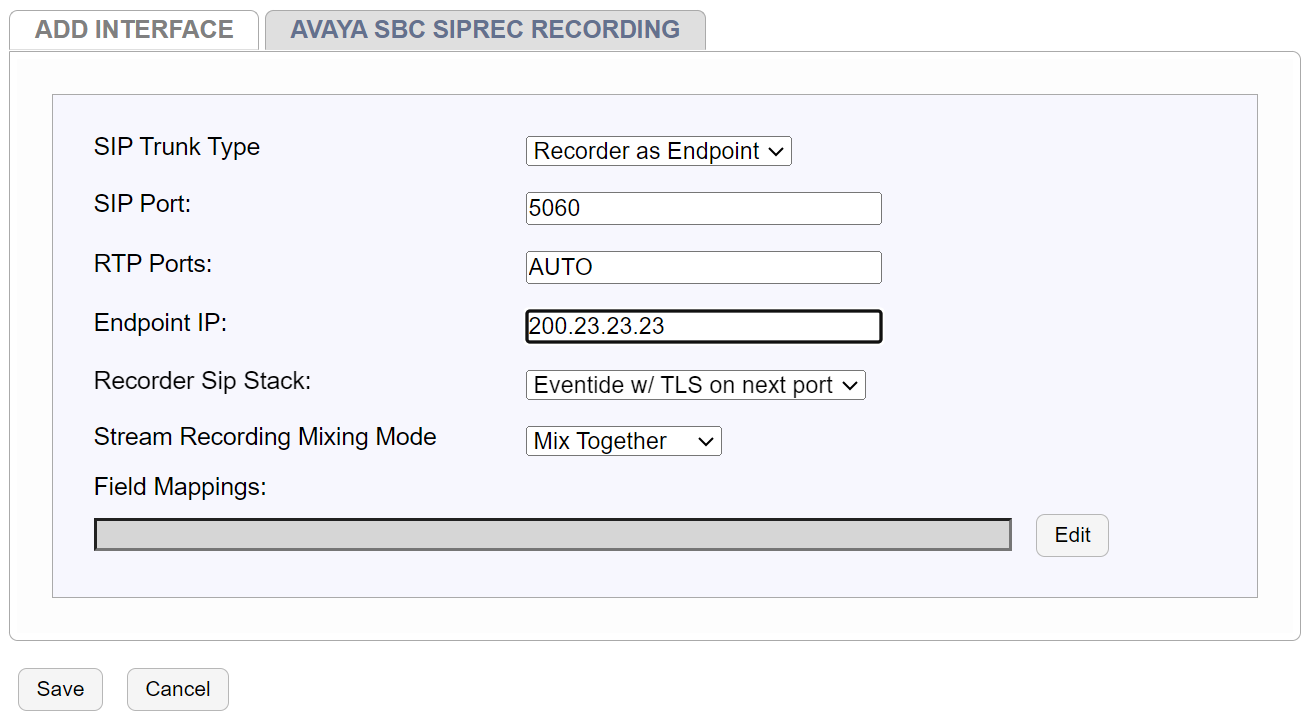
Fig. 6.41 Configure NexLog DX-Series
6.1.2.1. Verifying Recording
You should now be able to make calls to confirm that recordings are taking place between the Avaya SBC and Eventide NexLog DX-Series.
You can review actual recordings by logging into the MediaWorks DX playback interface.